- Info@ChurchBiblePublishers.com

How its made, part 1
You may have wondered at some point “What actually has to be done in order for a Bible to be made?”. The short answer would be “a lot”, however, I would like to break it down a little further than normal for you. As my father often says “anyone can make a Bible”, which is quite true, however, it’s also a bit more complex than the mere step of putting a cover onto a book block.
When we start with the design process of the Bibles, we generally start with the format and layout of the text. This process involves no less than 60 hours of manual scanning, formatting, cleaning and processing of the text…all for a simple layout style. We then send it off to a printing company for printing, gathering (the folding of the signatures), and smythe sewing of the signatures. While that seems like a small feat, this process may take up to 2-3 months depending upon how busy the printing company it at that time of year. The completed book blocks are then palletized and sent to us so we can begin our process.
 Once the pallets have been unloaded and inspected, we move on to the first step of manufacturing, the “nipping” process. When the book blocks first arrive, they are thicker than normal because of the sewing of the spine. The spines of the Bibles are nipped so ensure a better fold of the signatures and help ensure that the Bible will be able to lay flat throughout the rest of the binding process. The integrity of the spine is one of the determining factors of a well made Bible and we do our best to maintain a level of quality that is far above industry standard regarding it.
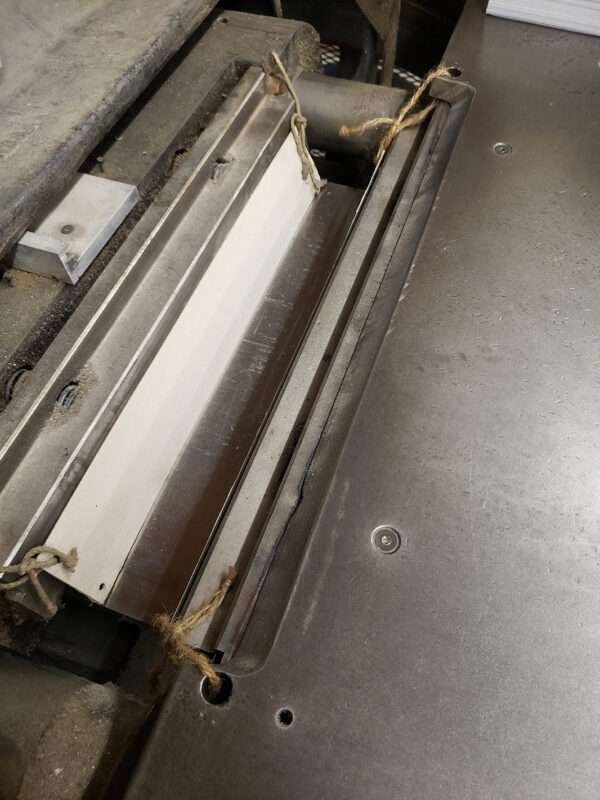
After the nipping process, we move onto the gluing of the spines. This step is necessary to the process as it will help ensure that the pages are not going to be able to move during other binding steps and cause the loss of a book block which would further the workload for all involved. During the “glue off” process, we take the time to straighten the signatures as we stack them into stacks of 6 to 10 Bibles, depending upon the thickness of the Bible. We apply the glue with a paint roller – much easier than the large brush we started with years ago – to help us maintain an even layer of glue across all of the Bibles and make sure that the loose threads from sewing are secured by the glue as well. The stacks of books are set aside to dry for a few hours before “cutting” the Bibles apart to bring them back to their individual stage.
During the third stage of the binding process, we insert what is called the “endleaf” page into the front and back of the Bible. This page will ride there, in it’s temporary spot, throughout much of the remaining bin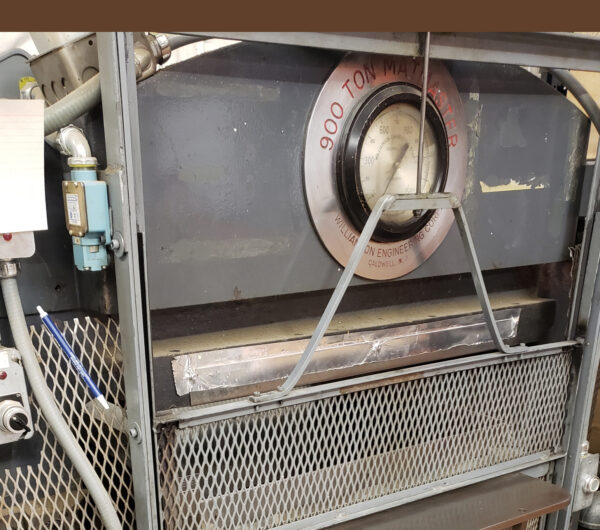 ding process. This part of the process will be highlighted towards the end as I am going to continue with the order in which the Bible is made.
The next step the Bible is sent through is a rather fascinating process, in my opinion, and, once again involves attention to the spine the Bible. The machine we use at this time is what we call “the smasher”. This machine will take all of the extra air out from within the pages of the Bible and help towards giving us our final spine width measurement. The smasher applies 33,000 pounds of pressure to the Bibles in order to achieve its task. (Fun fact, the smasher took its very own semi trailer to be hauled across the country and delivered to the bindery.)
…More information about how our Bibles are made to follow in the coming post.